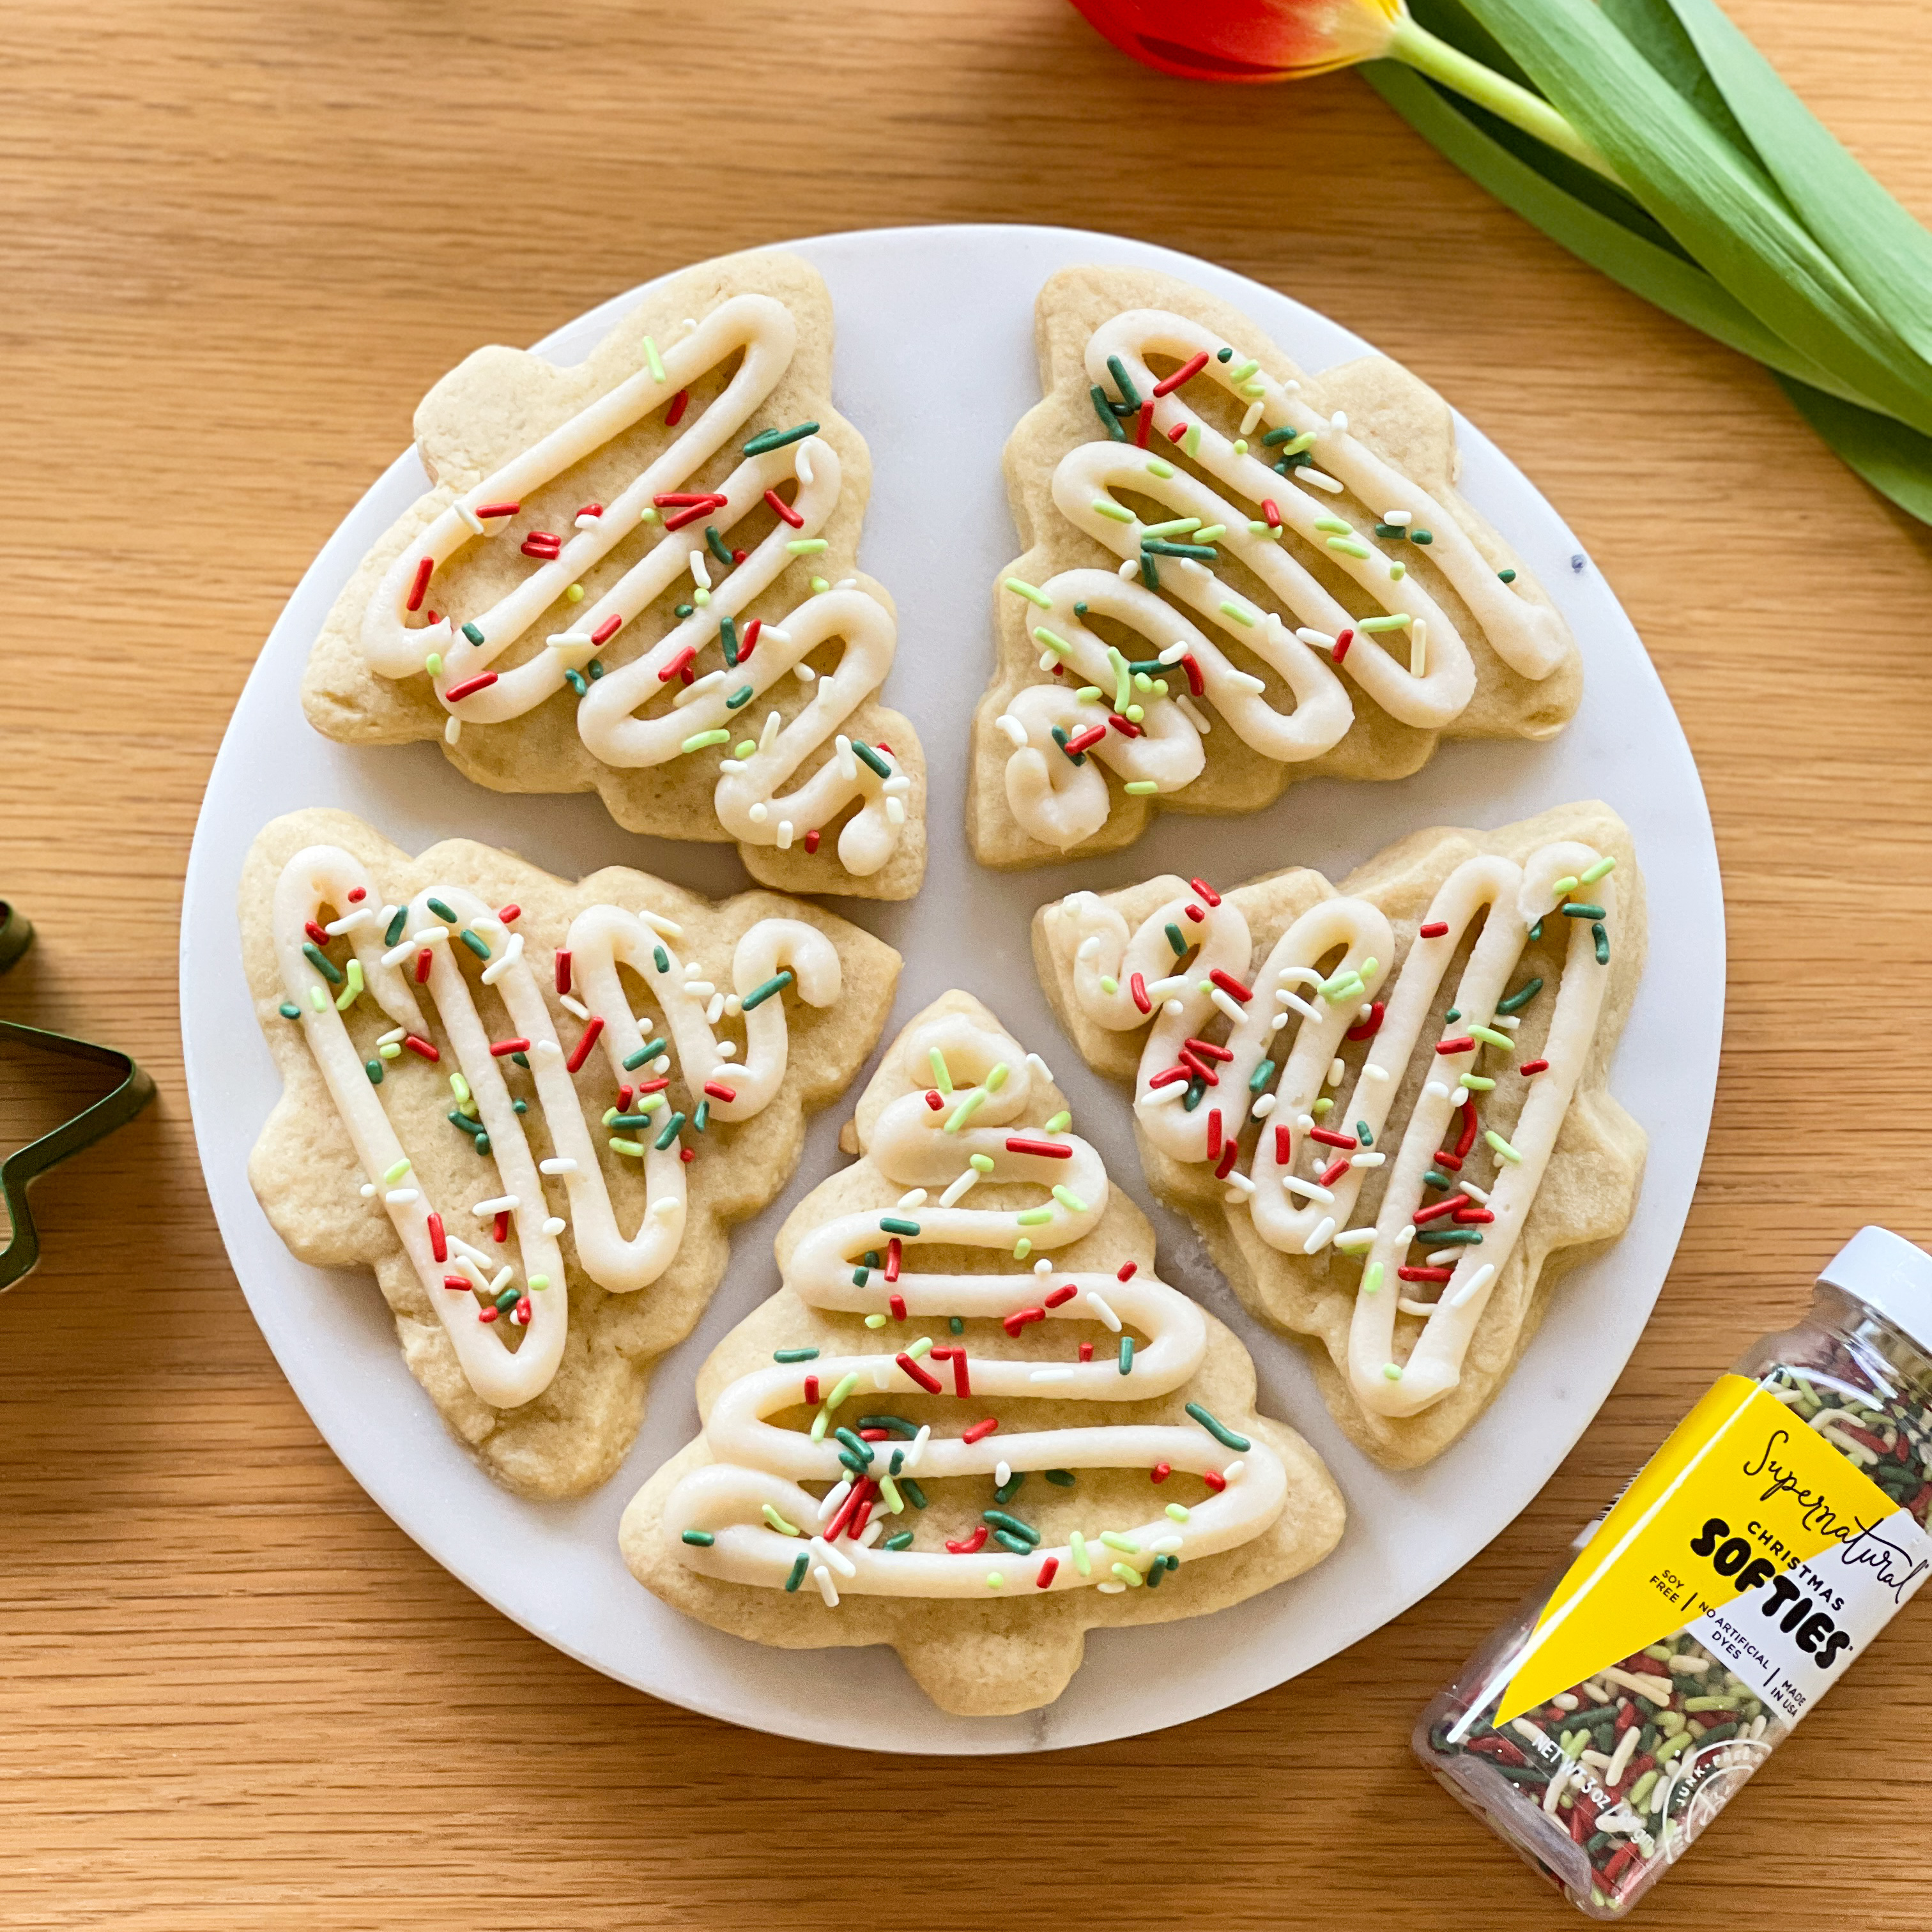
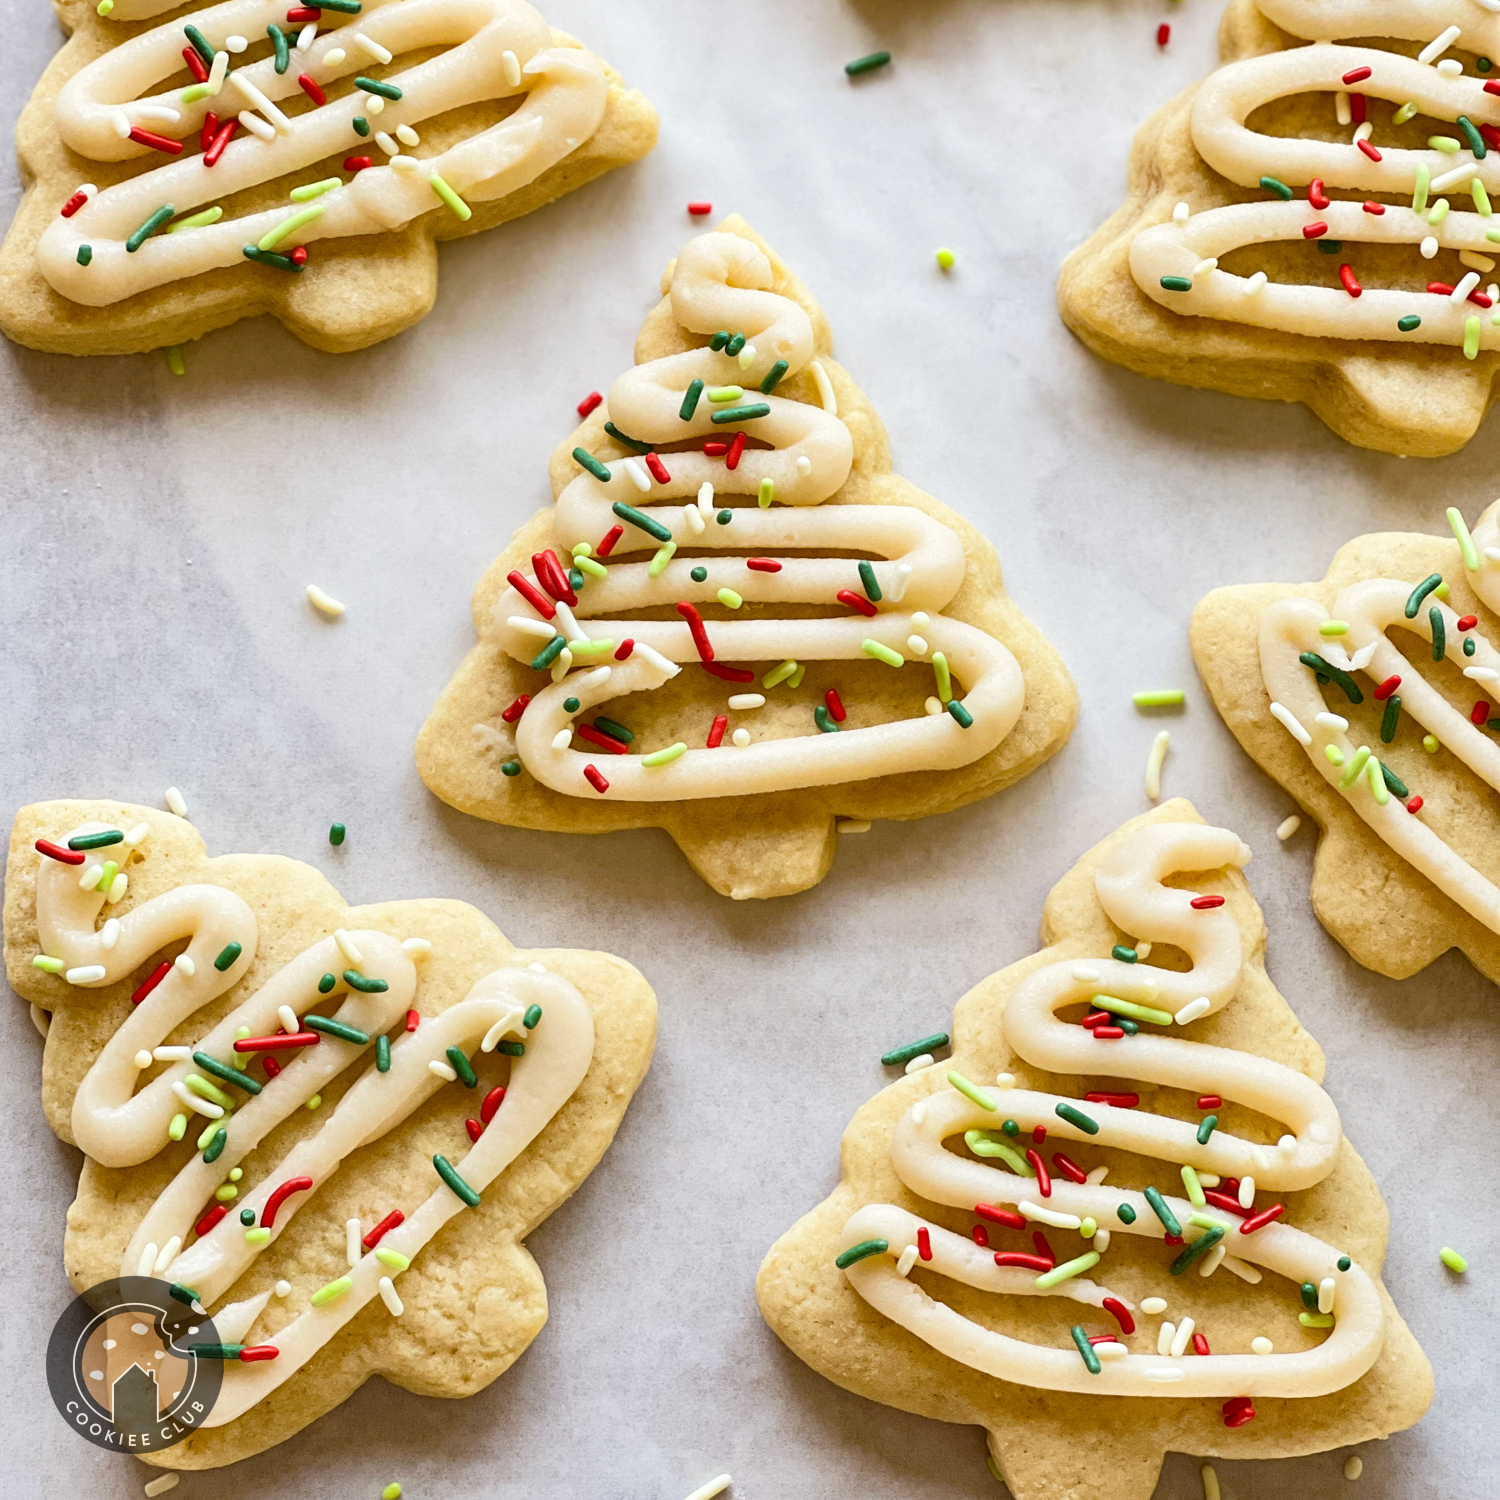
Cut out sugar cookies can be intimidating. That’s why I created my no fail sugar cookie recipe. They are soft, hold their shape and there’s no chilling required. These cookies are perfect for holidays and celebrations because they can easily be shaped into whatever form you want. Be creative and happy baking!
This post contains affiliate links and I may receive a commission on your purchase. Thank you for shopping through my links.
Reasons Why You Will Love My Cut Out Sugar Cookies
- The dough comes together with simple ingredients from the pantry.
- It is easy to double the recipe.
- You do not have to chill the dough before baking.
- The cut out sugar cookies hold their shape while baking and don’t spread too much.
- They are extra soft and flavorful!
- Great for decorating!
- The unfrosted cookies freeze well to frost for later.
Recipe Notes to Make the Best Cut Out Sugar Cookies
- The butter should be soft enough that you can place a small indent into it with you finger. Try removing the butter from your fridge about 10-15 minutes before baking. You can also cut your butter into cubes to help it mix into the other ingredients better.
- If the dough seems a little sticky after adding the last bit of flour don’t worry. Just turn the dough onto a lightly floured surface, roll the dough out and add more flour if needed.
- If you need to make the dough in advance you can. Just wrap the dough in plastic wrap and place in the refrigerator for up to 3 days. When you are ready to use it just let it come back to room temperature before rolling the dough out and continuing with the recipe.
- When baking you want to pull the cookies out of the oven before they turn golden brown around the edges. Around 8-9 minutes is the sweet spot. Slightly underbaking the cookies means they will stay softer for longer. They also continue to bake on the hot cookie sheet while they cool.
- If you want to make the cookies gluten free try using Namaste Organic Cup for Cup Flour. That is the flour I have used and have great success with when I need to bake for a friend or client with gluten allergies.
Cookie Recipe Variations
You don’t have to use cream cheese frosting if you don’t like it. Feel free to make a royal frosting or a regular vanilla buttercream if you prefer. I am just a sucker for cream cheese frosting and refuse to use anything else.

Directions to Bake The Cookies
- Start by preheating the oven to 350 F and line two cookie sheets with parchment paper.
- Next in a bowl of the stand mixer cream the butter and sugars together until light and fluffy about 2-3 minutes using the paddle attatchment.
- Scrape down the sides and add in the eggs, vanilla extract and milk. Mix until combined. The batter will seem clumpy but dont worry. It smooths out after adding in the dry ingredients.
- In a separate bowl combine the dry ingredients lightly with a fork and place into the wet ingredients.
- With the mixer on low, fold in the dry ingredients into the wet ingredients and stop mixing the moment the last bit of flour disappears.
- Scrape the dough out onto a clean, floured surface and roll the dough out into a large circle about an inch thick. Don’t be afraid to clump the dough back into a ball and roll it out again and again. You will do that a few times.
- Grab whatever cookie cutter you like and cut out some cookies.
- Place the cut out cookies on a baking sheet lined with parchment paper. Space them a few inches apart to prevent the cookies from sticking together when baking. I can get about 6-12 cookies on a pan at a time.
- Bake the cookies at 350 F for 8-9 minutes until soft but not doughy. Allow the cookies to cool completely on the pan.
- Continue baking until all the cookies are baked.
- Now make the frosting.
- In a large bowl cream together the butter and cream cheese.
- Then add in a cup of powdered sugar at a time until the frosting in smooth.
- Mix in the vanilla extract.
- Frost the cookies and enjoy! Feel free to use food coloring for the frosting and decorate with sprinkles.
No Fail Cut Out Sugar Cookies
Ingredients
Equipment
Method
- Start by preheating the oven to 350 degrees Fahrenheit and line two cookie sheets with parchment paper to use later.
- Next in a stand mixer (I prefer Kitchenaid) using the paddle attachment cream the butter and sugar together until light and fluffy.
- Now crack an egg and place into the mixer. Crack the other egg and discard the egg white and place the egg yolk into the mixer.
- Drizzle in the vanilla extract and mix the eggs and vanilla into the butter and sugar until creamy and combined.
- Pour in 3 tablespoons of milk and stir in until incorporated.
- In a separate mixing bowl add flour, sea salt, baking soda and baking powder. With a fork, lightly mix the dry ingredients and place into the stand mixer.
- On low speed, fold the dry ingredients into the wet ingredients and stop mixing the moment the last bit of flour disappears.
- Sprinkle flour lightly onto a clean surface (preferably the counter or a pastry mat.)
- Scrape the cookie dough out of the bowl, press gently into a ball.
- Begin to flour a rolling pin and roll the cookie dough out into a large circle about ½ an inch thick.
- Remember the thicker the dough the softer the cookies.
- Use your favorite cookie cutters to cut out the dough and place the cut out cookies onto one of the prepared baking pans lined with parchment paper.
- Don't place the cookies too close together on the pan. They should be a few inches apart from each other to prevent the cookies from spreading into one another while baking.
- I get about 9-12 cookies on a pan at a time. It depends on the shape and size of the cookie cutter being used.
- Repeat until all the dough is gone.
- Gather and re roll the scraps until there is no more dough.
- Bake one pan at a time at 350 degrees Fahrenheit for 8-9 minutes.
- Let the cookies cool completely before frosting.
- To make the frosting, add softened butter and cream cheese to a large mixing bowl.
- With a hand mixer, cream the butter and cream cheese together until smooth.
- Add in the vanilla extract.
- Pour a cup of powdered sugar in at a time, mixing in between cups till the frosting is creamy without any lumps.
- Separate the frosting into different bowls if coloring the frosting and follow the dye packaging instructions.
- Start to frost the cookies and sprinkle with sprinkles if wanted.
- Eat, enjoy and don’t forget to share with others.
- Store leftover in an airtight container and line with parchment paper between each stack of cookies to avoid getting frosting everywhere. Keep out on the counter for a week or freeze the cookies for up to 3 months.
- If you freeze the cookies let the cookies come back to room temperature before consuming.
Other Cookie Recipes To Try
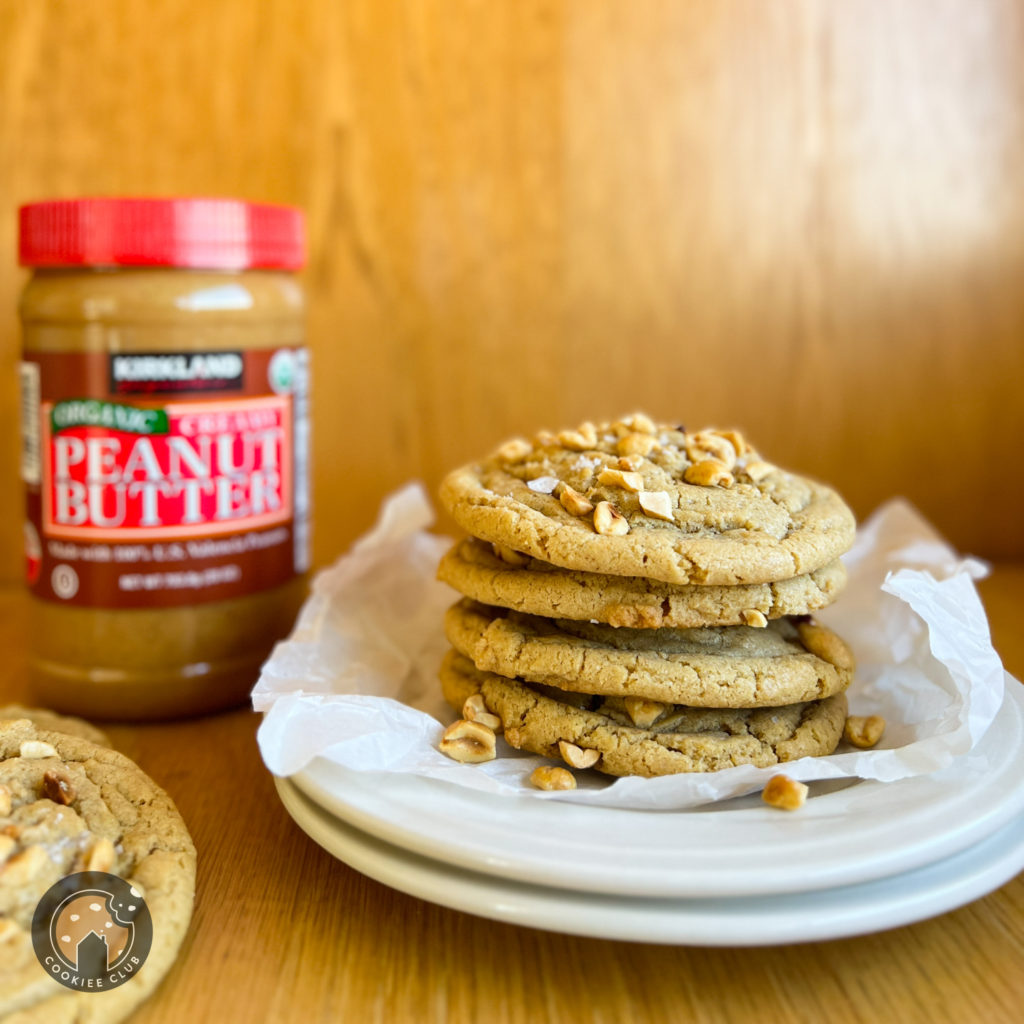
Extra Large Raspberry White Chocolate Cookies
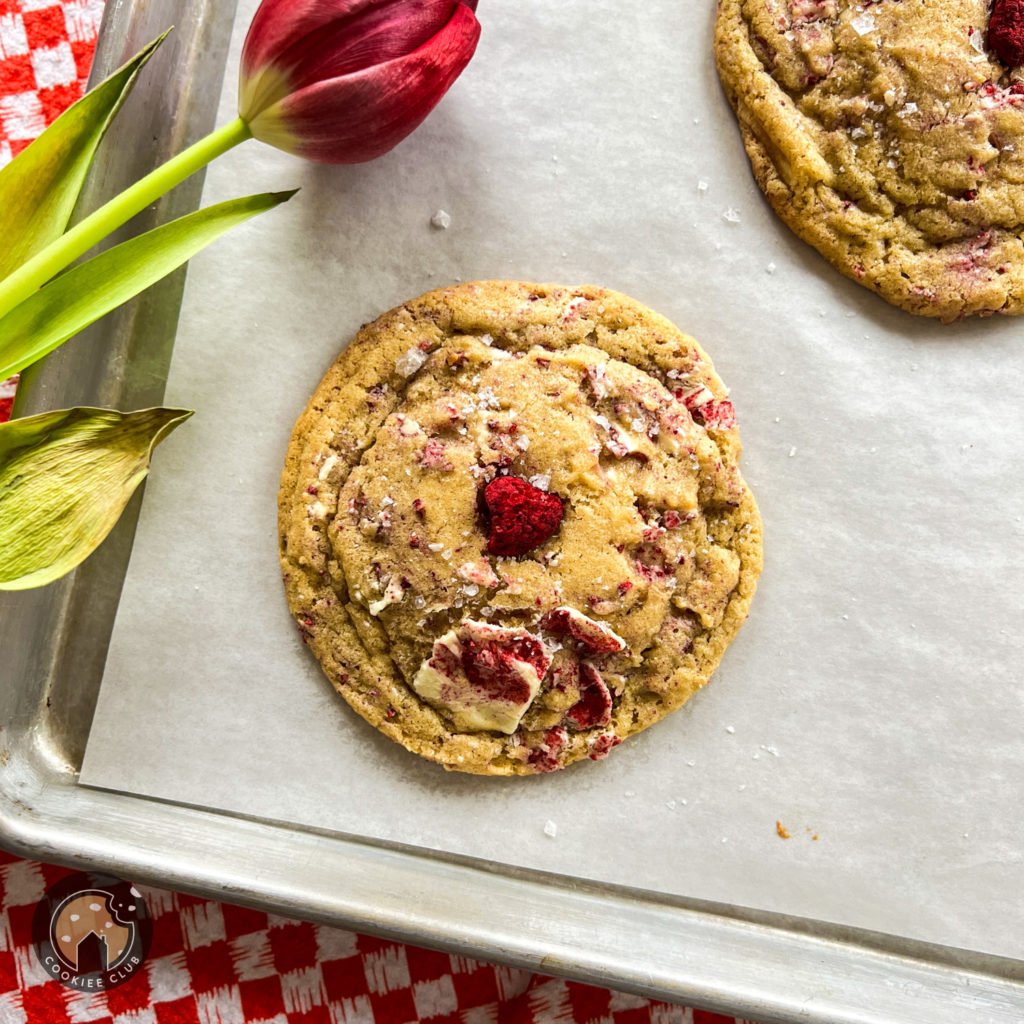
Deep Dish Cookies With Chocolate Chunks
